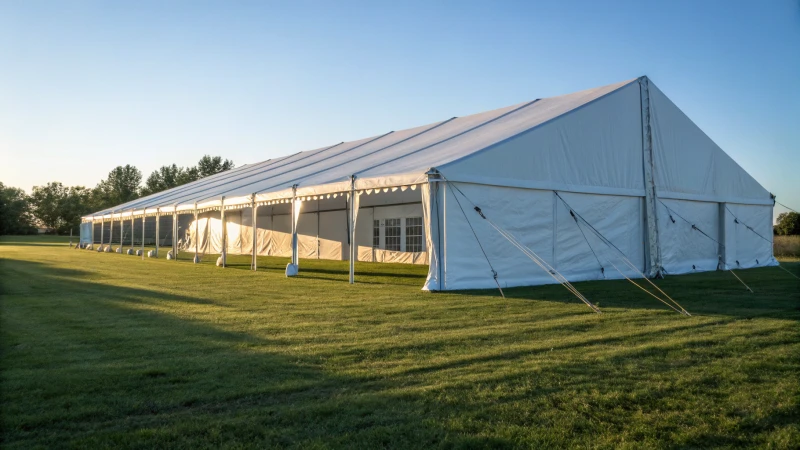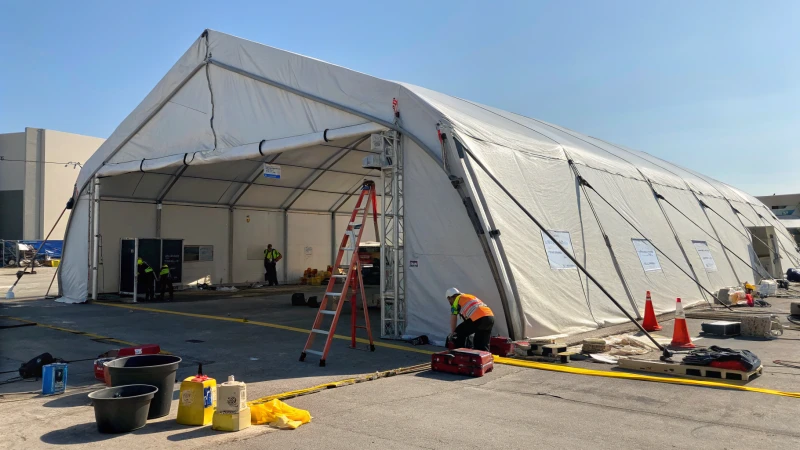
Ever felt that gut-wrenching panic when an industrial tent gets damaged, especially during a big event or crucial storage period?
If an industrial tent is damaged, the first step is to assess the damage carefully and ensure everyone’s safety. Perform temporary fixes if possible, but for serious issues, it’s best to bring in professionals for repairs or consider replacing the tent altogether.
Navigating through the chaos of a damaged tent can feel overwhelming, but taking those initial steps is key. I remember the time when a sudden storm ripped through one of my event tents, leaving me scrambling to ensure safety and assess the damage. It was a learning moment that taught me the importance of being prepared and knowing who to call for help. In the following sections, I’ll share some detailed strategies I’ve gathered over the years to help you decide whether to repair or replace your tent, ensuring you make the best choice for your situation.
Assess damage before deciding on tent repairs.True
Initial assessment is crucial for determining repair needs.
Always replace a damaged industrial tent immediately.False
Replacement is only necessary if damage is beyond repair.
How Can You Quickly Assess Tent Damage?
Have you ever been caught in a storm, wondering if your tent will hold up?
To quickly assess tent damage, I start with a thorough visual inspection of the fabric, frame, and anchoring systems, looking for tears, bent frames, or loose fasteners. Classifying the damage as minor or major helps me decide the next steps for repair.

Conduct a Visual Inspection
Begin by thoroughly inspecting every part of the tent. Pay special attention to the fabric, frame, and anchoring systems. I remember one camping trip when the wind howled like a banshee, and I was sure the tent was going to take flight. After that night, I knew I had to inspect every inch of my tent thoroughly.
- Fabric Tears or Punctures: Inspect the entire surface for any visible tears or holes. Sometimes shining a flashlight in those shadowy corners can catch any sneaky holes.
- Frame Stability: Examine each pole for bends or cracks, which can be as tricky as finding a needle in a haystack!
- Anchoring Systems: Ensure all pegs and fasteners are secure because loose components are a recipe for disaster.
Identify Damage Types
Classify any damage you find to decide on the urgency and type of repairs needed.
- Minor Damage: Includes small fabric tears or loose fasteners—nothing a quick patch-up can’t fix.
- Major Damage: Entails structural issues like bent frames or significant fabric tears that need urgent attention. It’s kind of like when your car starts making that funny noise—you know it’s time to head to the mechanic!
Immediate Safety Measures
Safety first! If you discover major damage, prioritize safety just like that time my old tent’s frame threatened to collapse during a family outing.
- Evacuate the area if there’s a risk of collapse.
- Use temporary supports to stabilize things until proper repairs can be made.
Document and Report Damage
Take detailed photos and notes of any damage. This step has saved me countless times when reporting issues to manufacturers or suppliers—it’s like having a diary for my tent’s adventures!
| Component | Potential Damage | Action Required |
|---|---|---|
| Fabric | Tears/Punctures | Patch or replace |
| Frame | Bent/Cracked | Weld or replace |
| Anchors | Loose/Missing | Secure or replace |
For more insights into temporary repair solutions1, I’ve found that having a repair kit suited to my specific tent type is invaluable. Plus, understanding the importance of regular maintenance2 can really help prevent future headaches.
Visual inspection is the first step in assessing tent damage.True
The content emphasizes starting with a visual inspection of the tent.
Major damage includes only small fabric tears.False
Major damage involves structural issues, not small fabric tears.
What are the first steps to ensure safety?
Imagine walking into work every day knowing you’ve done everything possible to keep your team safe. That’s the kind of peace of mind that comes with prioritizing safety.
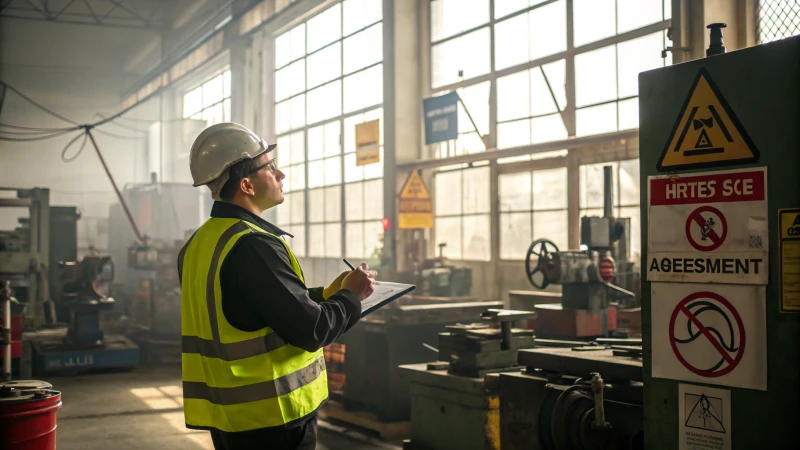
The first crucial step in ensuring workplace safety is conducting a detailed risk assessment to spot potential hazards. This involves scrutinizing equipment, environmental conditions, and team behaviors to establish effective safety protocols.
Conducting a Thorough Risk Assessment
I remember the first time I realized how crucial a thorough risk assessment was—back when I was setting up my own business. It was a sunny Monday morning, and the team was buzzing with energy, ready to tackle the week ahead. But one small incident made me rethink everything. A simple slip due to a wet floor sparked an entire review of our safety practices. That’s when I learned firsthand the importance of evaluating every aspect of our work environment.
When you’re conducting a risk assessment, it’s all about the details. You start by evaluating the work environment3 for potential hazards like faulty equipment or slippery surfaces. Even something as mundane as a flickering light can be a clue to bigger issues. Trust me, involving your team in this process is gold—they often notice risks that management might overlook.
Risk Assessment Checklist:
| Task | Description | Responsible Person |
|---|---|---|
| Equipment Evaluation | Inspect tools and machinery | Maintenance Team |
| Environmental Check | Assess lighting, flooring, ventilation | Safety Officer |
| Behavior Observation | Monitor staff compliance with rules | Supervisor |
Implementing Control Measures
Once those hazards are identified, it’s time to roll up your sleeves and implement control measures. Prioritizing these measures based on risk severity is key. I remember thinking it was overkill to install additional emergency exits4 until that one fire drill where the extra exit made all the difference.
Training your team on new protocols is crucial. It’s not just about telling them what to do but helping them understand why it matters.
Establishing Clear Communication Channels
I learned the hard way that effective communication can be a lifesaver during emergencies. Designating a team to disseminate safety information quickly is non-negotiable. Tools like intercom systems or mobile alerts can be real game-changers. Make sure everyone knows where safety equipment like fire extinguishers and first aid kits are located—this small step can make all the difference in an emergency.
Regular Safety Drills
Conducting regular safety drills ensures everyone is ready when it counts. I still recall the first time we ran a drill; it was chaotic but enlightening. Documenting each drill’s outcome is essential for improving future preparedness.
Here’s what our drill schedule looks like:
| Drill Type | Frequency | Key Participants |
|---|---|---|
| Fire Evacuation | Quarterly | All Employees |
| Medical Emergency | Bi-Annually | First Aid Team |
| Equipment Failure | Annually | Technical Staff |
By embedding these safety measures5 into your company culture early on, you’re not just reducing accidents—you’re fostering an environment where everyone feels secure and valued.
Conducting a risk assessment is the first safety measure.True
Risk assessments identify hazards, forming the basis for safety measures.
Safety drills should be conducted monthly.False
The context suggests different frequencies for various drills.
Are Temporary Repairs a Viable Option?
Ever found yourself in a pinch with something broken and wondered if a temporary repair could save the day? It’s a common dilemma, and I’ve been there too.
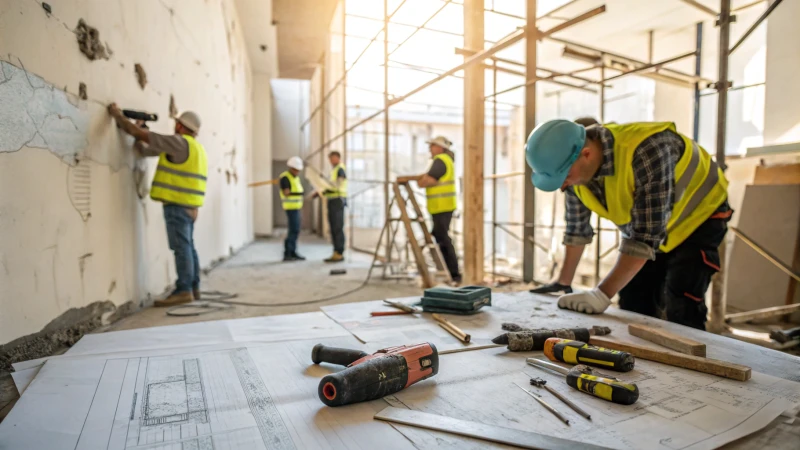
Temporary repairs can be a lifesaver for minor issues, offering quick fixes and saving money. However, they’re not always the best for long-term durability or safety, especially when dealing with critical structures.
Understanding Temporary Repairs
I remember the time when my industrial tent took a hit during an unexpected storm. In moments like those, temporary repairs are like superheroes without capes—they swoop in and save the day, even if just for a little while. These fixes are meant to hold things together until you can get a permanent solution in place.
When Are Temporary Repairs Appropriate?
Minor Damage Scenarios: Picture this: you’re at an event, and suddenly you notice a small tear in your tent’s fabric. Panic sets in, right? But then, you remember the repair tape tucked away in your toolkit. For minor issues like these, temporary repairs are perfect. They get you through the event without a hitch.
| Damage Type | Temporary Fix |
|---|---|
| Small Fabric Tear | Repair tape or vinyl patch kit |
| Loose Fastener | Replace with zip ties or new bolts |
| Bent Frame Component | Support with additional bracing |
Cost and Time Constraints: If you’re anything like me, sometimes budget and time are tight. Temporary solutions can buy you precious time while you plan for the bigger fix. They prevent things from getting worse while you gather resources for a permanent repair.
Limitations of Temporary Repairs
Of course, it’s not all sunshine and rainbows. There are limits to what temporary repairs can handle. I’ve learned this the hard way—like when a quick patch didn’t stand up to another storm as well as I’d hoped.
Safety Concerns: Imagine relying on a makeshift fix during severe weather—it’s a gamble with safety. Always assess what risks might come with sticking to temporary solutions.
Long-term Implications: Constantly relying on quick fixes can snowball into bigger problems. Regular check-ups and shifting to permanent repairs are crucial for keeping everything safe and sound.
Examples from the Field
From my experience in handling industrial tents6, I’ve seen how temporary repairs—like using extra straps to reinforce weak areas—can work wonders temporarily. But you have to keep an eye on them to prevent surprises down the road.
For more on temporary repair strategies and real-life insights, reaching out to experts or tapping into community wisdom through forums and blogs can be incredibly helpful.
Temporary repairs offer immediate cost savings.True
Temporary repairs are often chosen for their immediacy and cost-effectiveness.
Temporary repairs ensure long-term stability in all cases.False
Temporary fixes may not provide long-term stability, especially in critical systems.
When is it time to call in the pros for repairs?
Ever found yourself staring at a leaky faucet, wondering if it’s time to call in a professional? Let’s explore when to DIY and when to dial that expert number.
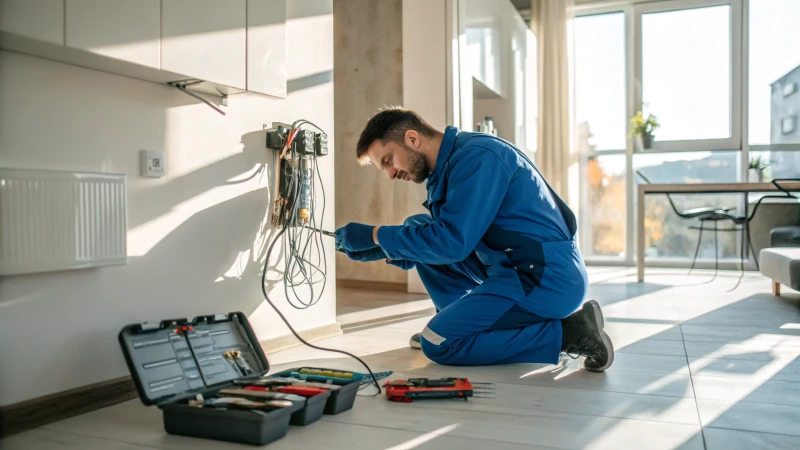
You should contact professionals for repairs when dealing with complex systems like electrical wiring, structural issues, or tasks that involve high safety risks. This ensures the repair is safe and effective, preventing further complications.
Evaluating the Complexity of the Repair
Imagine standing in your kitchen with water pooling at your feet. It might just be a simple leaky faucet, something even I’ve dared to tackle with a wrench. But if it involves electrical systems7 or structural elements, that’s where I draw the line. Electrical issues, for example, should always be managed by a certified electrician because the risk of electrocution or fire is too high. Similarly, plumbing problems beyond a basic leak might require tools and expertise I just don’t have.
Assessing Safety Risks
Safety first, right? This was drilled into me when I tried fixing a minor gas leak myself—bad idea! Anything involving gas lines8 or heavy structural repairs really shouldn’t be a solo mission. These are the tasks that could not only go wrong but also lead to serious accidents. For instance, dealing with gas line issues requires a licensed professional to avoid hazards like leaks or explosions.
Considering Long-term Costs
I’ve learned (sometimes the hard way) that while DIY can seem cheaper, botched repairs often cost more in the long run. A shoddy fix might need redoing by a pro later, and trust me, that double charge stings. So now, for anything beyond my comfort zone, I opt for professional help to ensure it’s done right the first time.
Time Constraints and Skill Level
There was this one weekend when I thought I’d save time by fixing the roof myself. Spoiler: I spent all weekend on it and ended up calling a roofer anyway. Time is precious, and sometimes juggling repairs isn’t worth it. If you’re not skilled in a particular area or just don’t have the time, hiring a professional can actually free you up to focus on what matters most.
| Repair Type | DIY | Professional |
|---|---|---|
| Minor drywall patch | Yes | No |
| Major electrical rewiring | No | Yes |
| Leaky faucet | Yes | No |
| Roof repair | No | Yes |
Legal and Warranty Considerations
I once voided a warranty trying to fix something myself—lesson learned! Some repairs might invalidate warranties or affect insurance policies if not done by licensed professionals. Always double-check your agreements; for example, roof repairs9 often need certified experts to keep that warranty intact.
In conclusion, knowing when to call professionals is about understanding the repair’s complexity, assessing safety risks, considering potential costs, and acknowledging your own limitations. It saves time, stress, and ultimately money. Trust me—I’ve been there.
Electrical issues should always be handled by professionals.True
Due to safety risks and regulatory compliance, certified electricians are needed.
DIY roof repairs maintain warranty coverage.False
Roof repairs often require certified professionals to keep warranty valid.
Conclusion
Assess damage to an industrial tent by inspecting fabric, frame, and anchors. Ensure safety, perform temporary repairs if minor, and consult professionals for significant issues or replacements.
-
Explore practical solutions for quick tent repairs, including patch kits and temporary fixes to maintain usability. ↩
-
Discover why regular maintenance is crucial to extend tent lifespan and avoid costly repairs. ↩
-
Discover step-by-step guides on identifying workplace hazards and evaluating risks effectively. ↩
-
Learn why emergency exits are crucial for quick evacuation and how they can save lives. ↩
-
Explore comprehensive lists of effective workplace safety measures to implement immediately. ↩
-
Learn about common temporary repair methods used in industrial tents. ↩
-
Professional electricians ensure safety and compliance with regulations, preventing potential hazards. ↩
-
Gas line repairs by professionals prevent leaks and ensure safety. ↩
-
Professional repairs maintain warranty coverage by adhering to required standards. ↩


