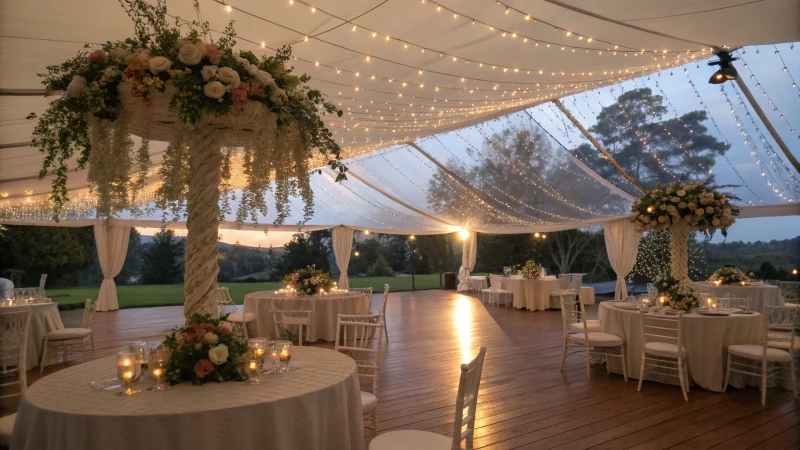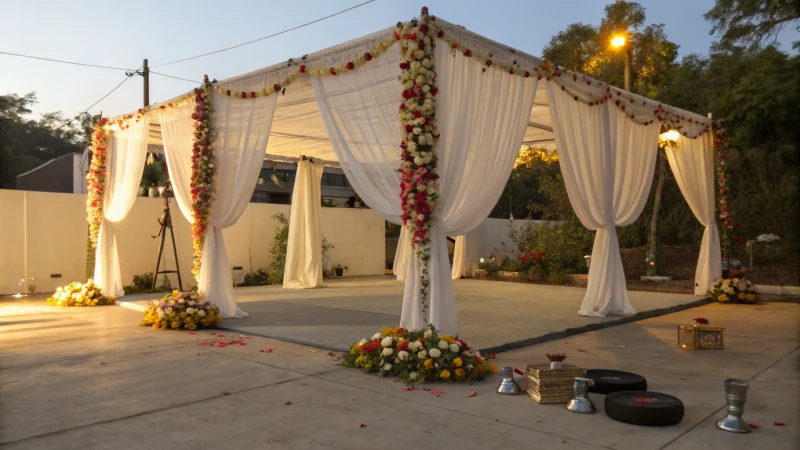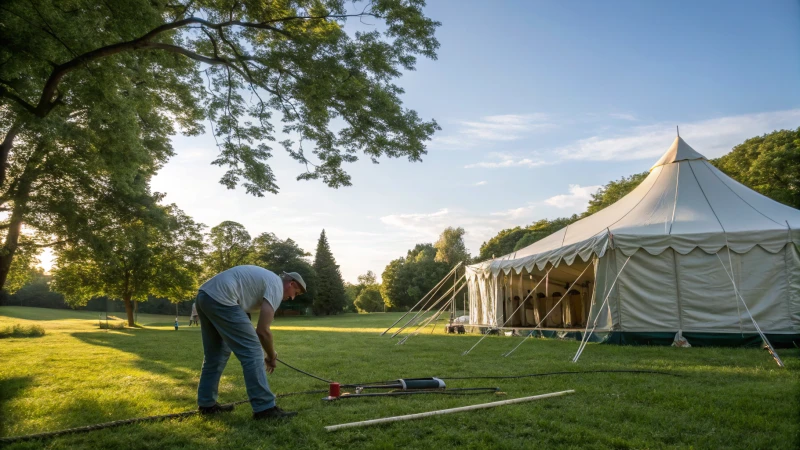
Ever felt overwhelmed at the thought of setting up a marquee tent for your big event? Trust me, you’re not alone. With the right approach, it can be as rewarding as it is challenging.
To erect a marquee tent successfully, start by selecting a suitable location with a level surface, gather necessary tools, and follow a systematic assembly process. Ensure the tent is secured with stakes and ropes, and conduct thorough safety checks to maintain stability throughout your event.
I remember the first time I set up a marquee tent; I was filled with a mix of excitement and dread. The anticipation of hosting a memorable event was exhilarating, yet the thought of potential mishaps loomed large. It all begins with choosing the right spot—something I learned the hard way after picking a slightly uneven patch of grass that turned our setup into an unexpected obstacle course. Once you’ve nailed down the location, having all the necessary tools on hand is crucial. Nothing beats that sense of satisfaction when everything clicks into place, and the stakes hold firm, ensuring the structure stands tall against any gusty winds. As you work through each step methodically, the daunting task gradually transforms into a fulfilling experience, one stake at a time.
A marquee tent requires a level surface for setup.True
A level surface ensures stability and proper tension of the tent.
Stakes and ropes are optional for securing a marquee tent.False
Stakes and ropes are essential to secure the tent against wind.
What are the essential tools needed for a marquee tent setup?
Setting up a marquee tent isn’t just about tools—it’s about creating an inviting space for memories.
You’ll need hammers or mallets, ladders, measuring tapes, levels, scissors, extension cords, and safety gear for a marquee tent setup. Having all components like poles, frames, stakes, and ropes ready beforehand ensures a smooth assembly process.
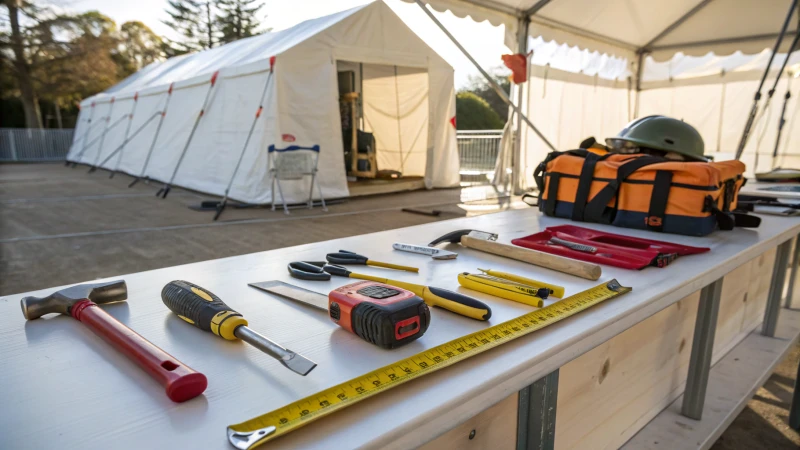
Preparation: Gathering Tools and Equipment
Before embarking on the adventure of setting up a marquee tent, I always make sure to gather all the essential tools1 first. I learned the hard way that missing even one tool can turn what should be a fun project into a frustrating scavenger hunt. Here’s my go-to checklist:
| Tool | Purpose |
|---|---|
| Hammer or Mallet | For driving stakes into the ground |
| Ladder | To reach higher parts of the tent |
| Measuring Tape | Ensures accurate dimensions |
| Level | Checks ground evenness |
| Scissors/Utility Knife | For fabric adjustments |
| Extension Cords | If using electrical equipment |
| Safety Gear | Protects during setup |
Understanding Tent Components
Getting to know the tent components was like uncovering a mystery novel for me. Each part has its own story and role:
- Tent Fabric: It’s crucial that the fabric is robust enough to withstand unexpected weather tantrums.
- Poles and Frames: You definitely don’t want to be halfway through and realize you’re missing a key piece. I always double-check against the manufacturer’s list.
- Stakes and Ropes: Think of these as the unsung heroes—they keep everything grounded.
Having a comprehensive checklist2 is like having a trusted friend by your side.
Systematic Steps for Assembly
With tools and components in hand, here’s how I tackle the setup:
- Prepare the Site: Clear away any potential trip hazards, level the ground meticulously with your trusty level.
- Lay Out Components: Organizing everything before starting is like setting the stage for a play—it helps spot missing items before they become a problem.
- Assemble Framework: Start with the base. It’s like building a house—you need a strong foundation.
- Secure to Ground: I always use stakes at a 45-degree angle. A little trick I picked up from a seasoned pro.
- Attach Tent Fabric: Carefully draping and securing it is my favorite part—it’s when everything starts coming together.
Safety First: Ensuring Stability
Safety is paramount. During my first setup, I learned that a gentle shake test reveals any weak spots needing attention. Ensuring all components are securely connected3 is essential for peace of mind.
Additional Considerations
If your event includes electrical setups, plan your power needs early. This can transform your space with lighting or other electrical equipment4, adding a magical touch to your marquee tent experience.
A hammer is essential for driving stakes into the ground.True
Hammers or mallets are used to drive stakes, securing the tent.
Extension cords are unnecessary for marquee tent setups.False
Extension cords are needed if electrical equipment is used during setup.
How do you pick the right spot for your marquee tent?
Have you ever found yourself dreaming of the perfect event, only to be stumped by the question of where to set up your marquee tent?
To choose the perfect location for a marquee tent, focus on ground stability, accessibility, permits, weather considerations, and aesthetic surroundings. These elements ensure your event runs smoothly and leaves a lasting impression.
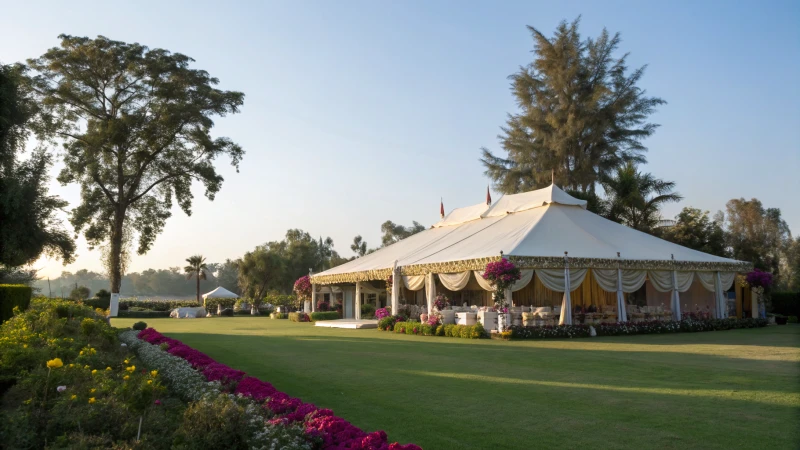
Consider the Terrain and Ground Conditions
I still remember the first time I set up a marquee tent; it was for a family reunion. Excitement quickly turned to panic when we realized the backyard wasn’t as flat as we thought. To avoid such hiccups, always scout for a flat, even surface. Trust me, your tent will thank you for it, and so will your guests when they aren’t stumbling around uneven ground.
- Flat Surface: This is non-negotiable for safety and stability.
- Soil Type: Firm ground is your best friend here. Sandy or soft soil might seem like a dream for picnics but is a nightmare for tents.
Getting the lay of the land early on can save you from future headaches.
Accessibility and Convenience
Think of your event like a movie set; every player needs seamless access. I learned this the hard way when our caterers had to lug trays uphill through a maze of trees. Choose a location that’s easy for everyone to navigate.
- Entry Points: Clear paths for guests and service vehicles5 like caterers or emergency services are crucial.
- Parking: Nearby parking is not just a convenience; it’s a necessity.
Permits and Local Regulations
Oh, the joys of paperwork! It might not be glamorous, but ensuring you have all necessary permits is essential. I once had to scramble last-minute because I overlooked a noise ordinance.
- Check Local Laws: Always know what’s required—better safe than sorry.
- Noise Restrictions: Be aware of any local rules that could affect your festivities.
Stay ahead of potential disruptions by being compliant from the start.
Weather Considerations
Weather can be unpredictable, but it doesn’t have to ruin your day. On one particularly windy afternoon, I was grateful for a strategically placed row of trees providing shelter.
- Shelter from Elements: Trees or buildings can offer protection but assess risks like falling branches.
- Drainage: Avoid spots that could turn into mini lakes after a downpour. Consider weather forecasts6 during planning.
Being weather-wise ensures your guests remain comfortable and dry.
Aesthetic Appeal and Atmosphere
Every event has its vibe, and the location plays a starring role. I once set up a tent overlooking a garden just as the sun set—it was magical and made for unforgettable photos.
| Aspect | Consideration |
|---|---|
| Scenery | Enhances photos; consider sunsets or gardens |
| Backdrop | Natural features add elegance |
| Ambiance | Matches the event tone (e.g., formal or casual) |
The right atmosphere can turn an event from mundane to memorable.
Power Sources and Utilities
Ah, the unsung heroes of any event—electricity and water. When planning my best friend’s wedding, we nearly forgot about power for the string lights that made the evening magical.
- Proximity to Power: Know if there are outlets nearby or if you’ll need generators.
- Water Supply: This might be essential depending on the event—plan accordingly.
Flat ground is essential for marquee tent stability.True
A flat surface provides a stable foundation, reducing collapse risk.
Permits are not needed for large tent setups.False
Many locations require permits for erecting large structures.
What are the common mistakes to avoid when setting up a tent?
Have you ever tried setting up a tent only to realize you’ve made a rookie mistake halfway through?
When setting up a tent, common mistakes include choosing uneven ground, failing to tension properly, overlooking weather conditions, and improper staking. By selecting the right site, securing the tent correctly, and being aware of environmental factors, you can avoid these issues and ensure a comfortable camping experience.
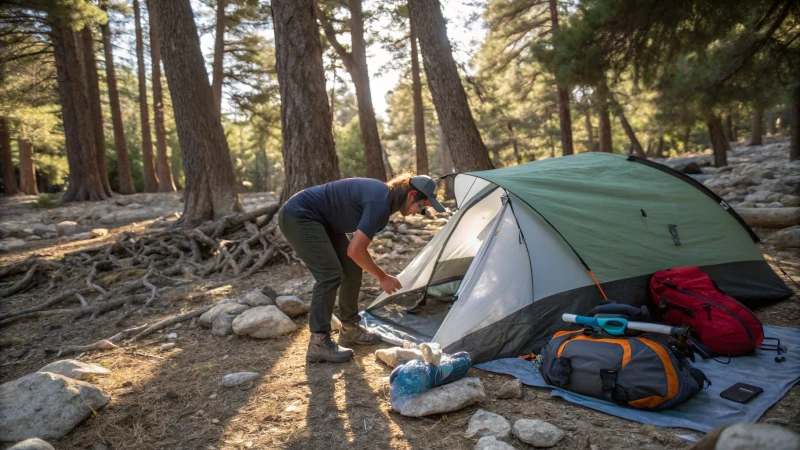
Choosing the Wrong Site
Selecting an appropriate campsite is crucial. Avoid setting up your tent on uneven or rocky ground, as this can lead to discomfort and instability. A flat, debris-free area ensures a secure base.
| Do | Don’t |
|---|---|
| Choose level ground | Pitch on slopes |
| Clear debris | Overlook site preparation |
Instead, ensure the ground is clear of rocks and sticks that could puncture your tent floor.
Incorrect Tensioning and Staking
Another common mistake is failing to properly tension and stake your tent. This can lead to sagging or even collapse during windy conditions. Use appropriate tools7 like a mallet for stakes.
- Tip: Drive stakes at a 45-degree angle for optimal hold.
Ignoring Weather Conditions
Neglecting to consider weather forecasts can lead to uncomfortable camping experiences. Always prepare for rain by using waterproof covers and ensuring adequate ventilation to avoid condensation inside the tent. Check out some weather preparation tips8.
Overloading the Tent
Ensure you do not exceed your tent’s weight capacity, which can lead to structural failure. Consult the tent specifications9 before use to avoid overloading.
Failing Safety Checks
Regular inspections are crucial. Before settling in, perform a thorough check of all connections and tension points. Make necessary adjustments to maintain the tent’s integrity throughout your stay.
By understanding these common mistakes, you’ll be better equipped to set up your tent efficiently, ensuring comfort and safety during your outdoor adventures. Always follow manufacturer instructions10 closely to avoid mishaps.
Setting up a tent on rocky ground ensures stability.False
Setting up on rocky ground can cause discomfort and instability.
Ignoring weather forecasts can lead to tent condensation.True
Neglecting weather leads to poor preparation, causing condensation issues.
How do different weather conditions impact your tent setup?
Have you ever had the weather turn your camping trip into a soggy mess or a windy struggle?
Weather conditions like wind, rain, and temperature changes can drastically impact your tent’s stability and comfort. To prevent unpleasant surprises, focus on features like waterproofing, wind resistance, and ventilation when setting up your tent.
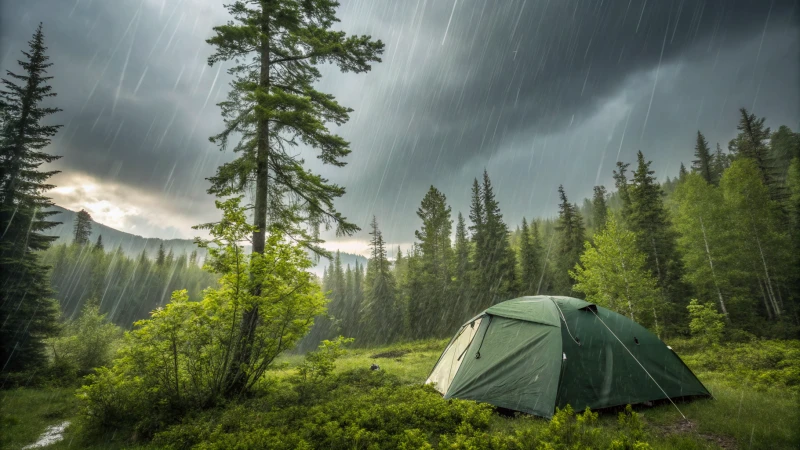
I remember my first camping trip vividly—it was one of those weekends where nature decided to throw a curveball. The sky was clear when we started pitching the tent, but by evening, the wind had picked up speed like it was in a race. My heart skipped a beat as I watched our tent sway dangerously, almost dancing with the gusts.
The Impact of Wind on Tent Stability
Wind is a notorious culprit for shaky setups. I learned the hard way that anchoring your tent properly can be the difference between a cozy night under the stars and a frantic chase across the campsite. To combat this, using stakes at a 45-degree angle and reinforcing with ropes11 tied to stable structures is essential. Aerodynamically designed tents can also help, cutting through the wind like a sleek arrow.
| Table: Wind Resistance Features | Feature | Description |
|---|---|---|
| Aerodynamic Design | Reduces drag and improves stability. | |
| Durable Materials | Prevents tearing and withstands strong winds. | |
| Extra Stakes & Ropes | Enhances anchoring strength. |
Rain and Waterproofing Considerations
Then there’s rain—a persistent visitor that loves to test your tent’s waterproofing prowess. I’ve been caught off-guard by sudden downpours that turned our campsite into a miniature pond. Investing in tents with waterproof fabrics and sealed seams is non-negotiable if you want to stay dry. Ensure the rainfly envelops the tent body completely, and tuck the groundsheet beneath to avoid water pooling.
Waterproof ratings12 are your friend here, indicating how much water pressure the fabric can withstand before giving in.
Temperature Fluctuations and Ventilation
Temperature swings can sneak up on you too. I remember waking up to condensation dampening our sleeping bags—a not-so-fun morning surprise. Proper ventilation is key to keeping your tent’s interior comfortable and dry. Mesh panels or adjustable vents are godsends for airflow, helping manage condensation in cool weather and heat buildup when it’s warm.
| Table: Ventilation Features | Feature | Purpose |
|---|---|---|
| Mesh Panels | Allows air circulation while keeping insects out. | |
| Adjustable Vents | Control airflow based on weather conditions. | |
| Double-Layer Doors | Offers flexibility between privacy and ventilation. |
Snow Load and Structural Integrity
In snowy landscapes, robust tents are essential to handle snow load. I’ve seen tents buckle under heavy snow, which taught me the importance of reinforced frames and steeply angled roofs to let snow slide off smoothly. Regular clearing of accumulated snow is crucial to prevent your tent from collapsing under the weight.
Conclusion
Every camping trip is a chance to learn how weather can test your setup’s mettle. By choosing features wisely and taking proactive measures, you can ensure your tent remains a haven no matter what nature throws your way.
Check out more tent setup strategies13 to stay ahead of the game in any adventure.
Wind can cause tents to collapse if not secured.True
High winds require proper staking and reinforcement to prevent collapse.
Waterproof ratings in millimeters indicate tent size.False
Waterproof ratings measure fabric water resistance, not tent size.
Conclusion
Learn how to successfully erect a marquee tent with this comprehensive guide covering site selection, necessary tools, assembly steps, safety checks, and common mistakes to avoid.
-
Discover detailed guides on essential tools to ensure you have everything needed for a smooth marquee tent installation. ↩
-
Find comprehensive checklists that help streamline your marquee tent setup process, ensuring no essential component is missed. ↩
-
Learn about best practices for securing tent connections to maintain stability and safety during events. ↩
-
Understand how to plan for power needs in tent setups, including lighting and other electrical equipment considerations. ↩
-
Ensuring easy access for service vehicles helps with efficient setup and teardown, preventing delays. ↩
-
Understanding weather impacts helps in making informed decisions about tent location, ensuring guest comfort. ↩
-
Discover tools that make tent setup easier and more efficient. ↩
-
Learn how to stay dry and comfortable during rainy camping trips. ↩
-
Understand how much weight your tent can safely hold. ↩
-
Find detailed setup instructions from various tent manufacturers. ↩
-
Discover techniques for reinforcing your tent against high winds, ensuring stability and safety during your outdoor adventure. ↩
-
Learn about waterproof ratings to choose the best tent for wet weather, ensuring you stay dry during rainy conditions. ↩
-
Find comprehensive strategies for setting up tents in different weather scenarios, enhancing your preparedness and safety. ↩


